Integrating, managing, and using Software as a Service (SaaS) has helped projects meet objectives and boost results in many businesses. And when it comes to biometric applications, there are API and SDK packages that make cutting-edge technology available to the market for all types of projects.
In this tutorial, you will learn how to implement and manage the packages offered by BioPass ID in just 4 steps.
1. Access BioPass ID platform dashboard
The microservices of the biometrics and AI platform are made in API rest and can be hired in the following versions:
- Free.
- Mini.
- Start.
To use the packages you need to go through two determining factors:
- Obtain an access key.
- Make the HTTP request.
After choosing the package, the BioPass ID Dashboard access permission is released, where it is possible to organize projects and obtain access keys.
The platform is intuitive and is presented as follows:
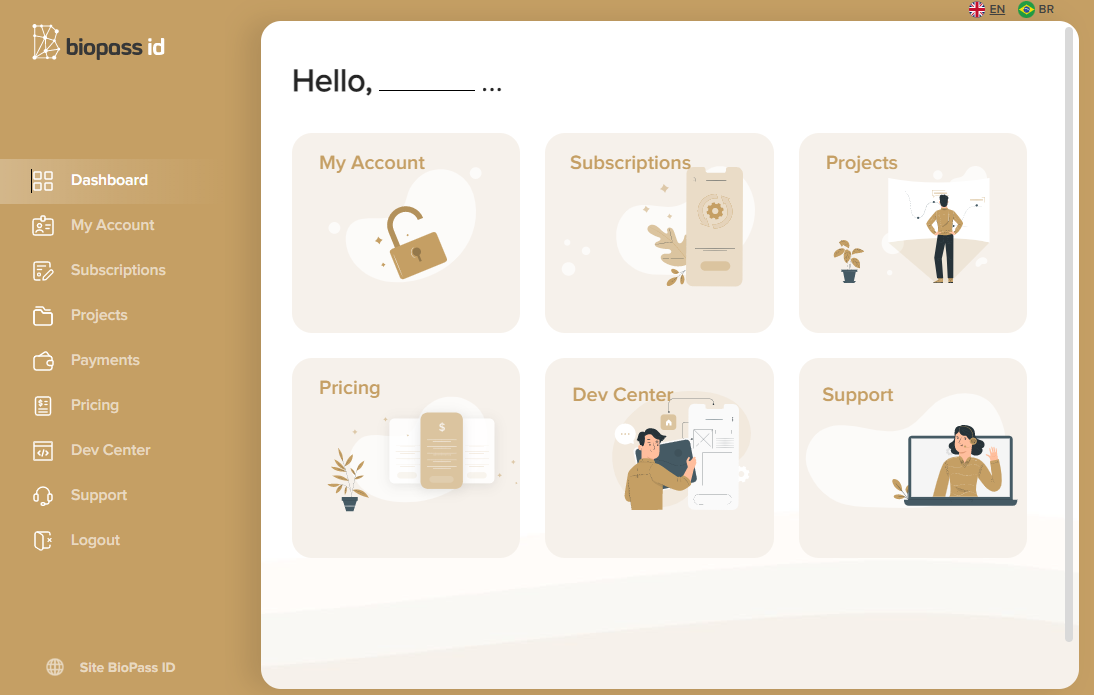
In the Dashboard you can find information regarding enrollment, as well as the environment for organizing projects.
To get started, click on Projects and select the package you will be using.
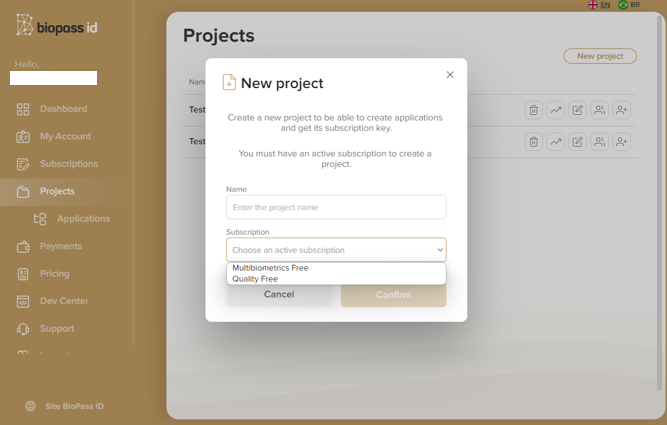
In Applications, determine the application name and choose the project to be referenced:

Then the access key is released. See below:
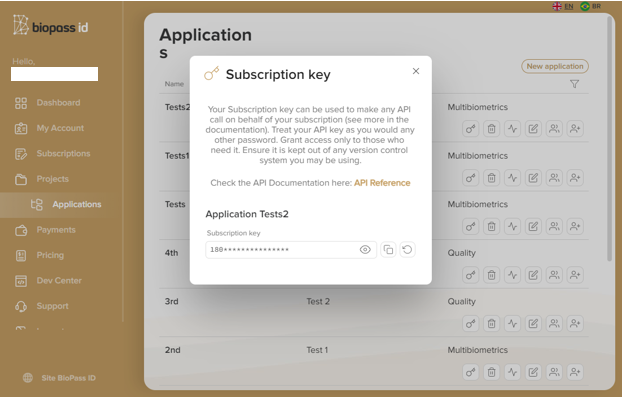
With the access key in hand, go to the documentation at https://docs.biopassid.com/ to start making HTTP protocol requests.
2. Make requests to the BioPass ID APIs
The requests made to the platform adopt the HTTP protocol to obtain the contracted resources. Thus, for each microservice, note which requests should be used, as in the example below:

In this case there is a request of type "post", which uses the endpoint above.
For testing microservices, requests can be made via Postman. There is a direction for this environment in the documentation. You can export it to make the whole process easier.

Once you have imported the documentation into Postman, you will find a JSON body and some changes that must be made according to each purpose:
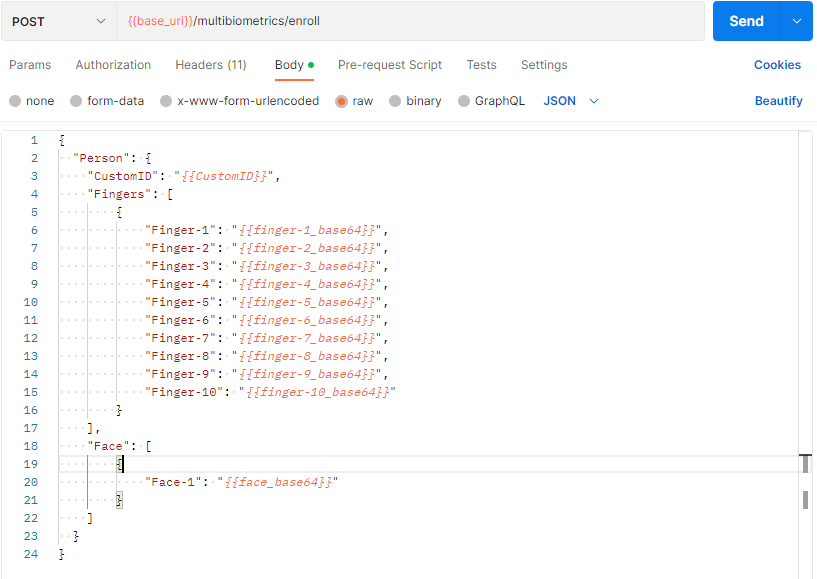
It is important to note that the double-keyed information indicates the fields that must be filled in with the information to be sent to the API. Also, in some cases there are mandatory and differentiated headers.
The common headers are:
- Content-Type with the value of - application/json.
- Ocp-Apim-Subscription-Key, which receives the mandatory access key.

If you choose not to use Postman, the same process can be done from the Command Prompt, using cURL:
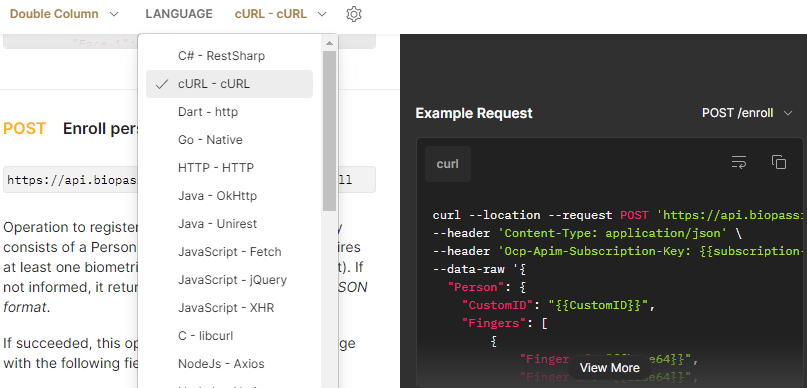
In the example above, you can see it in cURL.
The example request is displayed next to the descriptions of each microservice.
So select the text and run it in cmd.
You can even find an online converter and select the desired language. Other languages and libraries are also compatible, just select one of the options available, and if you want to use one that is not on the list, there are libraries that make it possible.
3. Implement a biometrics system
The implementation of the system is restricted to the objective of the solution in particular since it depends on what the user is looking for. In this case, there is the possibility of using the BioPass ID database or the customer's own.
BioPass ID offers four basic operations:
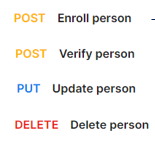
However, if the goal is to use the database itself for the basic operations - create, read, update and delete - it is possible to use other independent microservices, such as the extract and match microservices.
The possibilities are many and depend on the scope of the intended project.
4. Integrate with Python
Since microservices are compatible with several languages, the project can even be developed in Python, which makes the process much easier, since there are snippets that speed up the programming.
Using this language, there is no need to setup the environment, only to start it. This can be done as follows:
- Open Google Colab.
- Click on "New notebook":

Click on the <> symbols and see the collection of snippets, suggested on the right side of the screen:
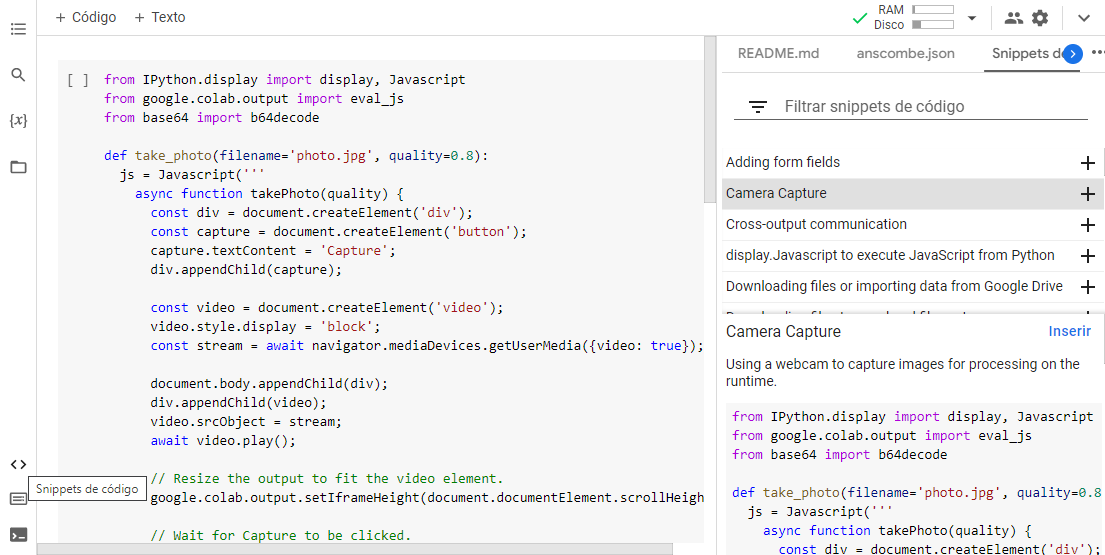
In this way, several code snippets are presented to speed up the implement process, such as the code for capturing images from the camera.
The most important general topics to be covered during the application are:
1- Make the API call, using the connection to the applied endpoint for the corresponding API;
2- Apply a method that captures the image and turns it into base64 (for general cases, with the exception of cases that apply the use of templates);
3- Determine the operation to be used;
4- Send the request with base64 to the specific endpoint;
5- Handle the response according to the scope to be developed.
The operations can be executed after the project has been created and the API has been integrated into the solution,
Accuracy and speed are two strong points in the implementation of the API, since the complexity and usability of the integration depends on how the developer or user chooses at the time of its development.
Since the solution offers packages with artificial intelligence integrated into its algorithms, there is no need for the customer to understand biometrics to use the full potential of the products, much less set up the platform.
HTTP requests can be sent from any internet-connected hardware, such as: mobiles, laptops, desktops, with no operating system restrictions.
5. Access Customer Support
Failures that occur are often linked to the incorrect use of resources.
There is a FAQ for developers in the dev center.
In the Dashboard itself there is a Support option. When you click it, you will be directed to recommendations and frequently asked questions.
If your question is still unanswered, there is a chat available in the same environment to help you in a few minutes which can be found under solutions.
Now that you know how to implement and manage the API packages offered by BioPass ID, you can get started.
See you next tutorial!
